How Moroccan Cement Tiles Are Made
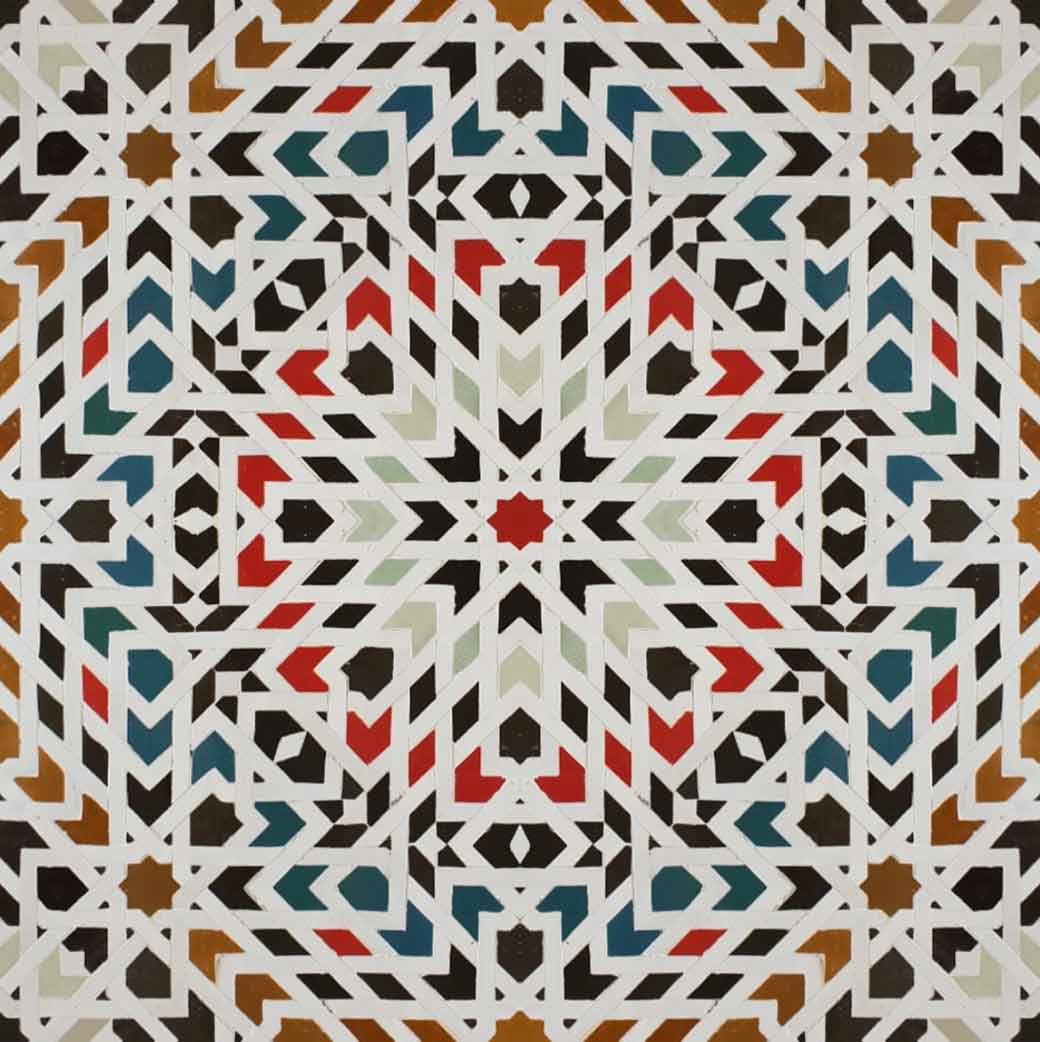
As anyone who’s visited Marrakesh knows, nobody does patterned tiles like the Moroccans. Whether you’re lost in the Medina or relaxing at a riad, nowhere else are you likely to see such exotic colours and vibrant designs.
But did you know that these swoon-worthy tiles aren’t actually tiles in the traditional ceramic sense? In fact, most Moroccan tiles are actually made from cement! Sounds crazy, right? Well, as it happens, I found myself driving from the Rose City to the Atlas Mountains earlier this year. And as luck would have it, I only happened to stumble on a cement tile workshop, didn’t I? With my French-speaking wife by my side, we managed to converse a little with the manager. Here’s what we discovered…
Historically Hip Moroccan Tiles
With their show stopping patterns and on-trend bold patterns, cement tiles are an Instagrammer’s dream. But actually, these tiles aren’t the last word in contemporary style – instead they’re handmade using techniques and machinery that hasn’t changed for generations. If you’re a fan – and why wouldn’t you be? – then you have the French to thank; they introduced the style and today, their colonial-era machinery is still used in the tile making of hotbeds Morocco and Vietnam.
How Cement Tiles Are Made
Most Moroccan tiles are produced by small family-run workshops that don’t have websites, Facebook accounts or email addresses. But finding them isn’t necessarily difficult – just drive across Morocco and look for tell-tale signs. Piles of sand or cement next to the road are a good indicator; displays of patterned tiles are the giveaway!
Knowing that a visual treat was in store, we pulled over and wandered in. Bemused by the two tourists in his factory, the manager kindly showed us how their cement tiles were produced. For a tile aficionado like me (read – tile geek), this was heaven. Although he could only speak a little French, we managed to understand the basic process. It’s part art, part science and the end results are absolutely fabulous! Anyway, without further ado, here’s the age-old process in a nutshell!
1. Coloured Cement
It goes without saying that cement tiles are made from, er, cement. So here’s a pile of fine portland cement, ready to be mixed with marble dust and made into a tile. Natural pigments are also added to form various colours – we’re told that these are highly guarded family secrets…
2. Moulds
These magnificent-looking moulds are used to create the different patterns. They reminded us of over-sized cookie cutters and the end results were certainly good enough to eat! Take a look at the close up of this hexagon mould below – we’ll show you how this is used next.
3. Meet the Maker
This kind chap showed us how he made hexagon shaped designs. One thing was clear – this is skilled, artisanal craft. Aside from the press (which looked pretty ancient) there wasn’t a machine in sight.
4. Preparation
Essentially, cement tiles are made by pouring cement into a form, squeezing this at high pressure and then leaving the tiles to cure. First of all, the base (which is the shape of the tile) must be oiled – as if you’re oiling a cake tin.
5. Break the Mould
Next, the mould is inserted into the base. The moulds have fine metal sections into which different coloured cements are poured into. Our artisan – and he certainly was an artisan – carefully piped in two differently coloured cements, just as you’d decorate a cake. This forms the ‘wear’ layer which is actually the top, patterned surface that we see.
Although he was working at speed, you could tell he’d done this many times before – not once did the colours overlap. In a flash, the mould was then removed and the base shaken a little, to help work out any air bubbles.
6. Layer Up
Next, a second layer of sand and coarse cement is poured into the mould. This will give the finished tile more strength and durability. Sometimes, a third layer is added for extra reinforcement.
7. Time to Press
A steel cap is placed on top of the mould and it’s inserted into the hydraulic press. In the blink of an eye this compacts the tile and embeds the different layers into a single tile.
8. Nearly There
Bingo! And here’s the end result, hot off the press. Looks lovely doesn’t it? Only thing is, it needs a little longer before it’s ready to decorate walls and floors.
9. Bath Time
Our little friend isn’t yet the finished article – he needs to harden up a little first. So he’s placed in a rack and dipped into a cold bath. The moisture will react with the cement (that’s the science-y bit) and a chemical reaction takes place.
10. Sunbathe
After the bath, it’s time to be left out in the hot Moroccan sun to slowly cure. This takes around 4 weeks and during this, the water dries out and the cement tile hardens. And that’s it! Who know’s where these tiles will end up next?
Here’s a short video I made of the process. It doesn’t show the whole procedure, but hopefully it should give you a great idea!
Source : https://www.porcelainsuperstore.co.uk

